Funguys Swarm Armor Guide
One hit, one Armor — learn how the January 2026 Armor system changes survivability and when to prioritize Armor over offense.
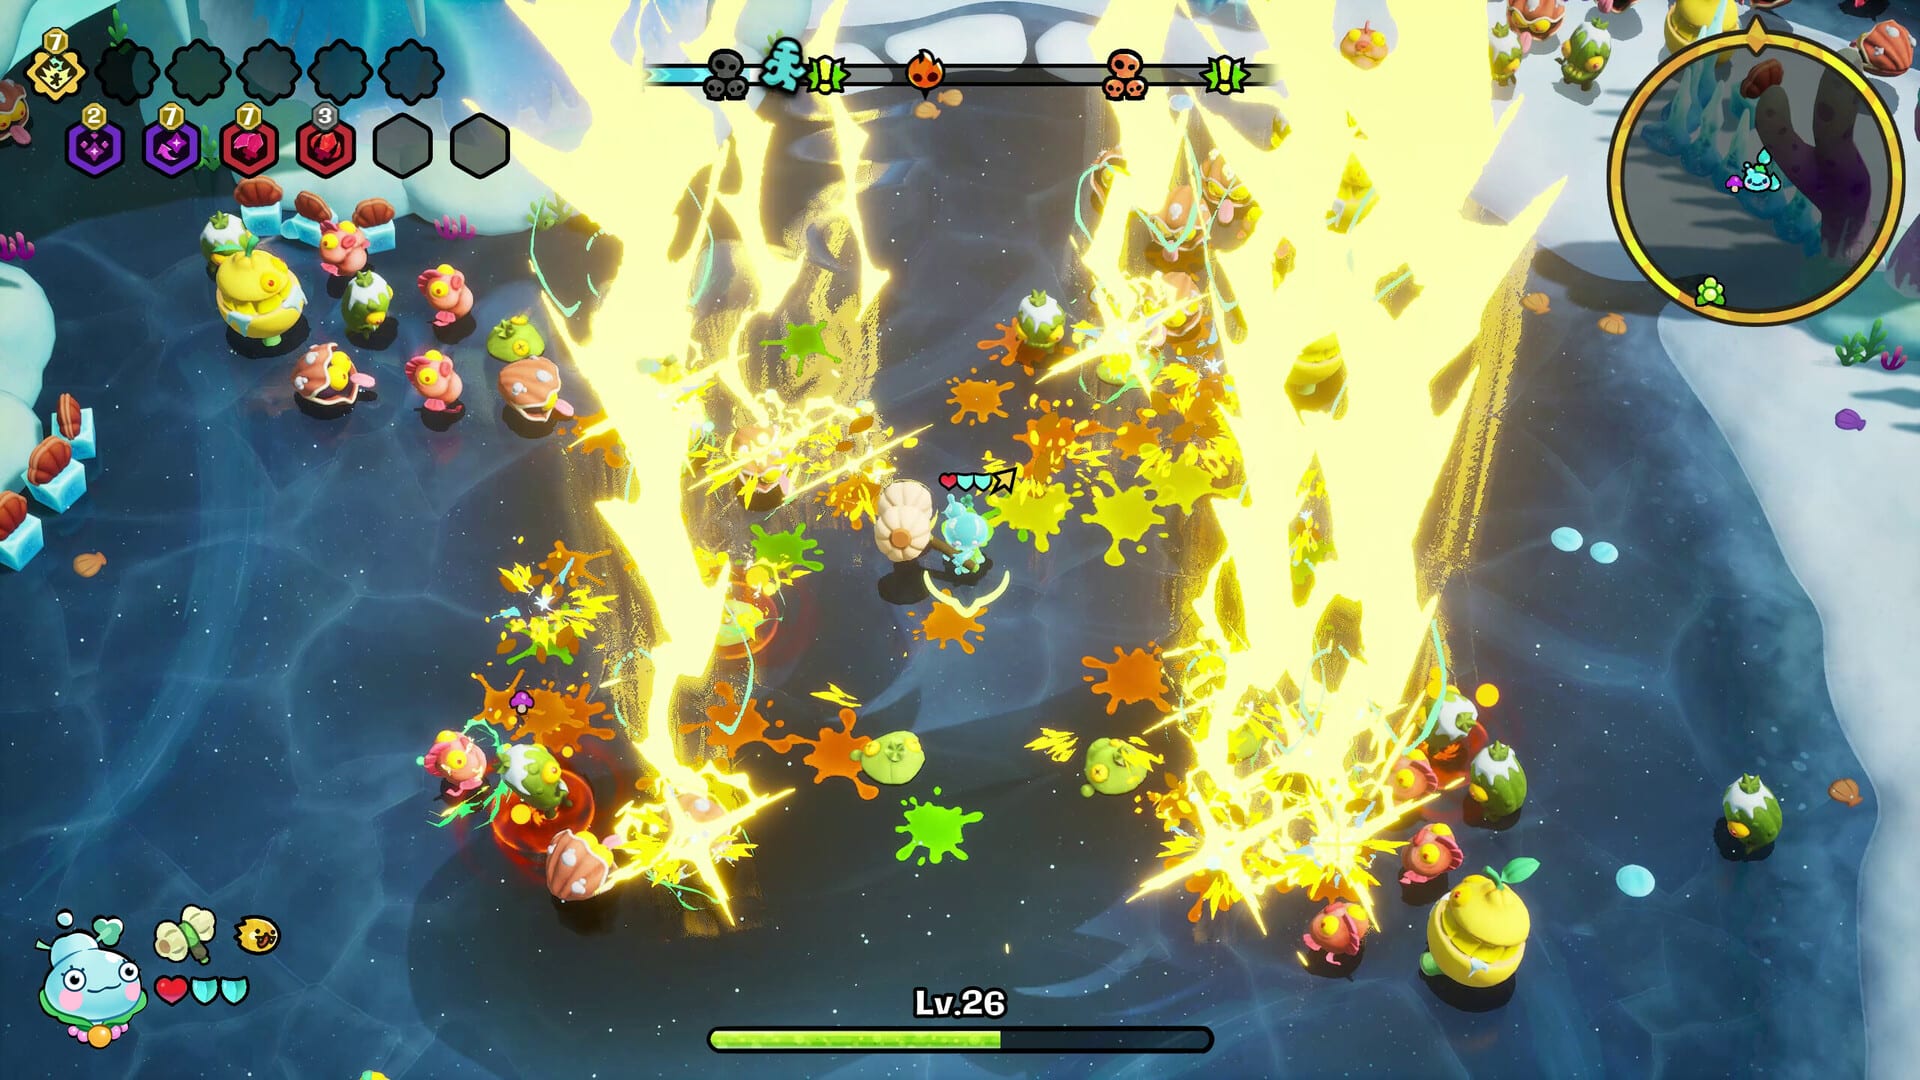
Understanding the Armor System
Armor was introduced in the January 2026 New Characters Update as a new defensive layer in Funguys Swarm’s combat system. The mechanic adds a strategic dimension to survivability that goes beyond simply having more Health points.
The core principle is straightforward: one point of Armor absorbs exactly one hit from any enemy source. When Armor is present, damage from enemy attacks removes Armor rather than Health. When Armor reaches zero, subsequent hits begin depleting your Health pool.
This creates a meaningful distinction between Armor and Health. Health in Funguys Swarm regenerates between encounters and can be restored through healing pickups, Dew spending in the Sanctuary, and certain passive skills. Armor, by contrast, is consumed permanently once lost and can only be replenished through specific mechanisms like Armor Shrines or the Protectron Treeling.
The tactical implication is significant: Armor is best used as a buffer against chip damage rather than as a primary defensive resource. A single Armor point prevents one hit of chip damage from killing you, but it cannot restore itself, so wasting Armor on inconsequential hits while your Health remains full represents a net loss in survivability potential.
Obtaining Armor
Armor Shrines
Armor Shrines are the primary source of Armor acquisition during arena runs. These specialized Shrines appear periodically within arena environments and function identically to Funguy Shrines — stand within the radius for approximately five seconds without taking damage to receive your reward.
Armor Shrine rewards vary in size. Some activations grant a single Armor point, while others provide multiple points. The distribution appears to scale with arena difficulty, meaning Hellscape Armor Shrines tend to reward more Armor than those in Carrot Farm.
Activating Armor Shrines requires the same tactical awareness as any other Shrine. Wave transitions, boss attack animations, and periods of low enemy density create the safest activation windows.
Protectron Treeling
The Protectron Treeling received a significant rework in the March 2026 Optimization Update. Previously, Protectron granted random card upgrades. After the rework, Protectron grants one Armor point every fifteen levels at base rank, thirteen levels at mid rank, and ten levels at maximum rank.
This change made Protectron the most reliable passive Armor source in the game. Running Protectron during any arena run ensures that you accumulate Armor throughout the run without needing to locate and activate Armor Shrines.
Protectron’s Armor generation scales with level progression. Each time you level up, you are one step closer to the next Armor grant. Combined with the Treeling’s natural synergy with level-up focused builds, Protectron is particularly valuable for players running characters or skills that level rapidly.
Chimpy’s Conversion
Chimpy is the only character with Armor as a core mechanic. His passive ability converts all Health into Armor at the start of each run. Health pickups do not drop during Chimpy’s runs — instead, each hit you take while armored triggers an explosion dealing one hundred base damage plus twenty percent additional damage per Nature Card in your deck.
This makes Chimpy’s Armor fundamentally different from other characters. Where other characters accumulate Armor as a supplement to their Health pool, Chimpy’s entire survivability engine runs through Armor and the resulting explosion damage.
Chimpy’s explosion mechanic scales with Nature Cards, creating a synergy where collecting Nature Cards simultaneously improves survivability (through additional explosion damage) and build consistency (through Nature-element skill effects).
Armor and Damage Calculation
When you have Armor points, incoming damage follows a specific absorption order. The first point of damage removes one Armor point and deals no Health damage. The second point of damage, if it exists, removes another Armor point. This continues until all Armor is depleted.
Only when Armor reaches zero does subsequent damage begin affecting your Health pool. This means a character with five Armor points can absorb five hits before taking any Health damage, regardless of how much damage those hits would have dealt.
This creates interesting edge cases. A single hit from a powerful boss enemy consumes exactly one Armor point, the same as a weak fodder enemy’s basic attack. For this reason, Armor is most valuable as protection against the constant chip damage from fodder enemies, not as a defense against powerful singular attacks where Health alone would suffice.
The Hellcap relic’s March 2026 rework changed how it interacts with Armor. Previously, Hellcap placed a timer on Health drops. After the rework, Hellcap reduces the chance of Health spawns by half. This change means Hellcap is less desirable when running Armor-focused builds, since reduced Health spawns combined with non-regenerating Armor can create dangerous situations where neither resource replenishes reliably.
Optimal Armor Strategies
When to Prioritize Armor
Armor becomes most valuable in two specific scenarios: runs with high incoming hit frequency, and runs with active Fire Curses that increase difficulty.
High hit-frequency scenarios include Hellscape’s dense enemy composition, Egglosseum’s elite-heavy waves, and any run where player skill level results in frequent contact with enemy attacks. In these scenarios, Armor prevents Health loss from each individual hit, allowing Health to be reserved for situations where Armor has been depleted.
Fire Curse runs increase the value of Armor because curse effects often increase hit frequency or add new damage sources. Internal Catapult’s meteor falls, Slowing Heat’s movement-slowing fields, and Death Follows’ pursuing entity all create situations where avoiding damage entirely is difficult. Armor provides a buffer that makes these curse effects survivable.
When Armor is Less Valuable
Armor provides minimal benefit in runs where you rarely take damage. If your positioning and dodge timing are strong enough that you consistently complete arenas without being hit, Armor points go unused. In these scenarios, prioritizing offensive upgrades that accelerate clear times is more valuable than seeking out Armor Shrines.
Armor is also less valuable on characters with strong natural self-healing or Health regeneration. Characters with healing passives or skills that restore Health between waves benefit less from Armor because their Health pool is continuously replenished anyway.
Combining Armor Sources
The most effective Armor strategy combines multiple Armor sources. Running Protectron provides passive Armor generation throughout the run. Seeking out Armor Shrines when they appear supplements the passive income. Prioritizing Armor in this way creates a thick defensive buffer that handles chip damage across even the longest arena runs.
For Hellscape attempts with multiple Fire Curses active, combining Protectron with active Armor Shrine farming can result in enough Armor to survive the full arena without significant Health loss. This is particularly valuable for characters like Steve and Dr. Botanika, whose mechanics require standing in relatively predictable positions during combat.
Armor and Character Synergies
Dr. Botanika
Dr. Botanika’s Ube sentinel fires independently while she focuses on positioning. This makes her well-suited for Armor-focused builds because she can maintain combat effectiveness while standing in Shrine activation zones. Ube’s Shock pulses continue dealing damage while Dr. Botanika waits inside an Armor Shrine.
For Dr. Botanika, Armor acquisition enables more aggressive positioning. With a substantial Armor buffer, she can afford to stand in slightly more dangerous positions to maintain Ube’s effectiveness against clustered enemies.
Mr. Midnight
Mr. Midnight’s magnet mechanic continuously attracts XP and pickups, which means he is frequently moving toward resource drops rather than standing still. This makes Armor Shrine activation challenging.
Protectron is particularly valuable for Mr. Midnight because it generates Armor passively without requiring him to stop and wait in Shrine zones. The Treeling’s Armor generation complements his aggressive collection-focused playstyle.
Steve
Steve’s automated card selection and consistent Freeze chains create a playstyle where positioning is relatively predictable. Frozen enemies cannot interrupt his position, making Armor Shrine activation more feasible than for Mr. Midnight.
Steve’s high Luck and Chance stats also mean he is more likely to receive Rare or Epic Armor-related passives during level-ups, which can supplement Shrine-based Armor acquisition.
Chimpy
Chimpy’s entire mechanic revolves around Armor. His passive converts all Health into Armor at run start, making him functionally different from every other character. Chimpy’s explosion damage scales with Nature Cards, so his optimal build naturally gravitates toward Nature-element synergies.
For Chimpy, Armor is not a resource to be managed — it is the only resource. His tactical decisions center on maximizing explosion damage while preserving his Armor from unnecessary depletion. Taking damage intentionally to trigger explosions is sometimes correct on Chimpy if the explosion kills surrounding enemies.
Armor in the Meta
The introduction of Armor in January 2026 changed the defensive meta of Funguys Swarm. Previously, Health regeneration and healing pickups were the only meaningful defensive resources. Armor added a new layer that rewards proactive defensive planning rather than reactive healing.
Community tier lists have begun incorporating Armor value into character assessments. Characters who can acquire Armor easily (through Protectron synergy or innate mechanics) rate higher in survivability metrics than characters who must rely purely on positioning and Health.
The balance implication is that Armor softens the difficulty curve for characters with otherwise low survivability. A character like Fuzzbug, whose pixie-focused damage scales well but whose base stats provide limited survivability, benefits significantly from Armor acquisition that lets her survive long enough for her late-game damage to come online.
Frequently Asked Questions
Quick answers to common questions about Funguys Swarm.
What is Armor in Funguys Swarm?
Armor is a defensive layer introduced in the January 2026 update. One point of Armor absorbs exactly one hit from any enemy. When you have Armor, damage from enemy attacks removes Armor instead of Health. When Armor reaches zero, subsequent hits damage your actual Health.
How do I obtain Armor?
Armor Shrines drop Armor pieces when activated. The Protectron Treeling, reworked in March 2026, grants one Armor every fifteen, thirteen, or ten levels depending on its upgrade rank. Chimpy's passive converts all Health into Armor at the start of each run.
Does Armor regenerate between waves?
No. Armor does not regenerate between waves or encounters within a run. Once an Armor point is spent absorbing a hit, it is gone for the remainder of the run unless you find another Armor Shrine or your Treeling grants additional Armor.
How does Armor interact with Health?
Armor sits in front of Health in the damage absorption order. All incoming damage hits Armor first. Only when Armor is depleted does damage reach your Health pool. This makes even a single Armor point valuable for preventing chip damage from killing you.
What characters benefit most from Armor?
Chimpy is the Armor specialist — his passive converts all HP into Armor at the start of each run. The Protectron Treeling synergizes with any character for passive Armor generation. Armor is most valuable in Hellscape and high-Fire-Curse runs where enemy damage is highest.